

鱼见海资源网最新教程:
在 WordPress 主题中, 使用 comment_form 函数来生成一个评论表单。通常把评论模块的代码写进单独的 comments.php 文件中,然后使用 comments_template 这个函数在 single.php、page.php 等文件底部引用评论模块。
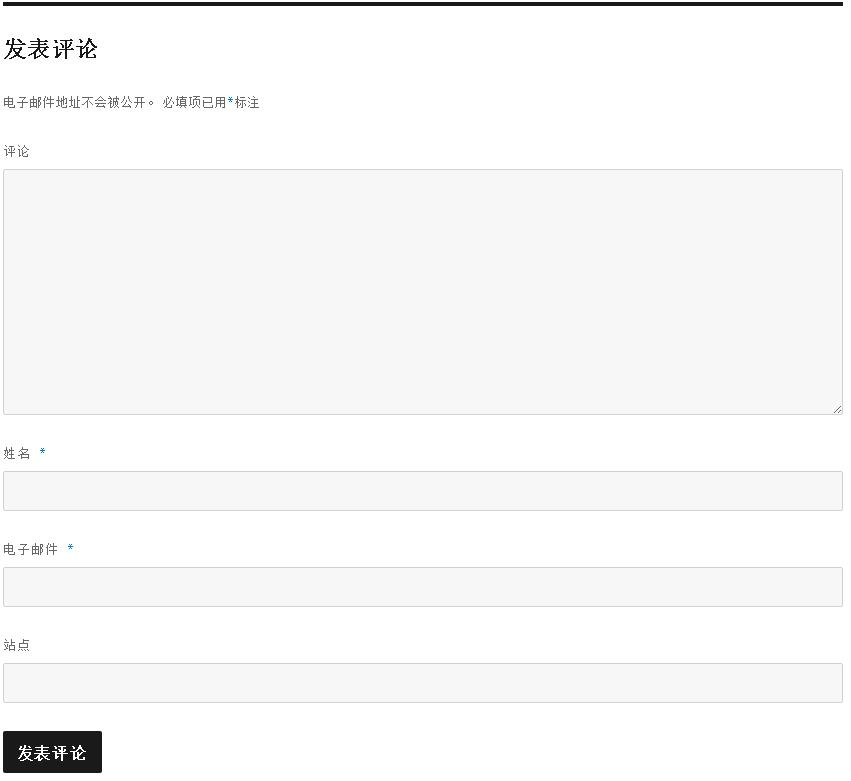
本文中,使用twentysixteen 这个官方主题作为演示我们首先看看默认的评论表单:
一、调用comment_form()函数
我们在文章页单篇文章single.php或页面page.php通过 comments_template() 函数加载我们的加载评论模板,那么comment_form()在什么地方调用呢?如何调用呢?当然是默认的comments.php评论模板文件,或者你自定义的评论模板文件,建议你阅读 WordPress函数:comments_template(加载评论模板)
comment_form()通过模板输出完整的评论窗体。它有二个参数,形式如下:
$args:comment_form()的输出配置参数,为一个关联数组,配置项非常丰富,将再下一步说明。
$post_id:文章id,默认为空,即当前id 。
二、$args数组默认参数详解
官方默认代码
$args = array(
'id_form' => 'commentform',
'class_form' => 'comment-form',
'id_submit' => 'submit',
'class_submit' => 'submit',
'name_submit' => 'submit',
'title_reply' => __( 'Leave a Reply' ),
'title_reply_to' => __( 'Leave a Reply to %s' ),
'cancel_reply_link' => __( 'Cancel Reply' ),
'label_submit' => __( 'Post Comment' ),
'format' => 'xhtml',
'comment_field' => '',
'must_log_in' => '' .
sprintf(
__( 'You must be logged in to post a comment.' ),
wp_login_url( apply_filters( 'the_permalink', get_permalink() ) )
) . '
',
'logged_in_as' => '' .
sprintf(
__( 'Logged in as %2$s. Log out?' ),
admin_url( 'profile.php' ),
$user_identity,
wp_logout_url( apply_filters( 'the_permalink', get_permalink( ) ) )
) . '
',
'comment_notes_before' => '' .
__( 'Your email address will not be published.' ) . ( $req ? $required_text : '' ) .
'
',
'comment_notes_after' => '',
'fields' => apply_filters( 'comment_form_default_fields', $fields ),
);常用参数:
fields(array) (可选) 除了评论输入框之外的输入框, 比如 author, email, url.
默认值: apply_filters( ‘comment_form_default_fields’, $fields )
comment_field(string) (可选) 评论框的textarea 和 label.默认值:无
must_log_in(string) (optional)默认值:无
logged_in_as(string) (可选) 默认值:无
comment_notes_before(string) (可选) 评论框前的html标签,默认值:无
comment_notes_after(string) (可选) 评论框后面的html 标签,默认值:无
id_form(string) (可选) 输入form的id属性,默认值: ‘commentform’
id_submit(string) (可选) submit按钮的id属性值.默认值: ‘submit’
title_reply(string) (可选) 评论form的标题.默认值: ( ‘Leave a Reply’ ) title_reply_to(string) (可选) 默认值: ( ‘Leave a Reply to %s’ )
cancel_reply_link(string) (可选 取消回复的链接文字.默认值: ( ‘Cancel reply’ ) label_submit(string) (可选)提交按钮的名字.默认值: ( ‘Post Comment’ )
$fields :缺省的输入项。注意这个和前面的第一个fields数组的区别,看下面的注释
三、$fields数组默认参数详解
$fields = array(
// 作者名称字段
'author' =>
'',
// 电子邮件字段
'email' =>
' ' .
( $req ? '*' : '' ) .
'
',
// 网站地址字段
'url' =>
'' .
'
',
);四、个性化之删除字段方法之一
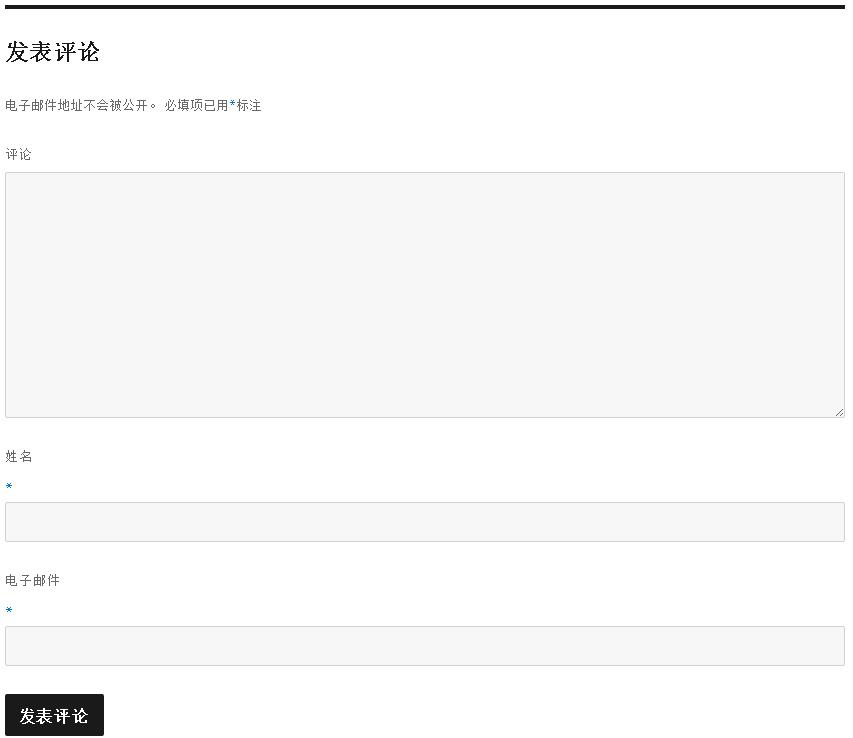
如果我们想去掉「网址」文本框,我们把上面 ‘url’ 的键删掉即可.
我们使用下面语句来替换 twentysixteen 主题中 comments.php 调用表单的函数 comment_form :
$commenter = wp_get_current_commenter();
$req = get_option( 'require_name_email' );
$aria_req = ( $req ? " aria-required='true'" : '' );
$fields = array(
'author' => '',
'email' => ' ' . ( $req ? '*' : '' ) .
'
',
);
$comments_args = array(
'fields' => $fields
);
comment_form($comments_args);先使用 wp_get_current_commenter 函数来获取当前的评论者的一些信息,方便下面调用。然后生成了一个 fields 变量,内容是一个包含 author、email 两个键的数组,对应的键值就是评论表单的 HTML 结构,效果如图:
五、个性化之删除字段方法之二
在主题的functions.php文件中添加如下代码即可:
/**
 *删除url评论字段
 *
 */
add_filter('comment_form_default_fields', 'unset_url_field');
function unset_url_field($fields){
	if(isset($fields['url']))
	unset($fields['url']);
	return $fields;
}
备注:这个方法使用的前提是你使用了wordpress默认的评论表单,如果是主题使用了自己开发的wordpress评论表单,你只需要去掉主题评论表单的站点字段即可。
注意:由于 email,author 文本框是必填的,当你删除了在提交评论时,是会出错滴。
五、改变评论表单标题和发表按钮文字
$commenter = wp_get_current_commenter();
$req = get_option( 'require_name_email' );
$aria_req = ( $req ? " aria-required='true'" : '' );
$fields = array(
'author' => '',
'email' => ' ' . ( $req ? '*' : '' ) .
'
',
);
$comments_args = array(
'fields' => $fields,
'title_reply'=>'评论',
'label_submit' => '发表评论!'
);
comment_form($comments_args);六、个性化之增加自定义字段
想要用户在发表评论的时候填写更多的表单信息,比如地址,电话,微信等等,我们仍然使用 fields 这个参数来传递。如果想要增加一个新的文本框让评论者填写自己所在的地区,我们使用下面这段代码:
$commenter = wp_get_current_commenter();
$req = get_option( 'require_name_email' );
$aria_req = ( $req ? " aria-required='true'" : '' );
$fields = array(
'author' => '',
'email' => ' ' . ( $req ? '*' : '' ) .
'
',
'position' => '' .
'
'
);
$comments_args = array(
'fields' => $fields,
'title_reply'=>'评论一下',
'label_submit' => '提交评论'
);
comment_form($comments_args);虽然我们可以在这个文本框中填写信息,但是你点击发送之后,不会有任何变化,因为还没有具体的功能代码接受你这个新建表单的内容。实现这个功能需要用到 comment_post 这个 hook 钩子。先给出具体代码:
function add_comment_meta_values($comment_id) {

    if(isset($_POST['position'])) {
        $position = wp_filter_nohtml_kses($_POST['position']);
        add_comment_meta($comment_id, 'position', $position, false);
    }

}
add_action ('comment_post', 'add_comment_meta_values', 1);
将上面代码复制到 functions.php 文件中即可。上面代码大体功能就是:在评论内容被提交的时候会触发 comment_post 这个 hook ,使用 add_action 函数为 comment_post 这个 hook 绑定一个函数,函数的内容就是接收表单中 position 这个文本框的内容,然后过滤掉 html 标籤,再使用 add_comment_meta 这个函数将内容插入到数据库中。具体插入到 wp_commentmeta 这个表中,你提交了信息之后,会在这个表中发现对应内容。
仅仅存到了数据库中当然不行了,我们还要取出来在评论内容中显示。使用下面代码可以调用出来对应的内容:
comment_ID, 'position', true ); ?>我们可以通过wp_list_comments()函数调用自定义的评论显示列表里添加以上代码,把我们自定义添加的字段信息打印出来。
六、 comment_form 函数总结说明
1.comment_form 是可以传递一些参数,我们可以通过编写对应的参数实现表单自定义。你可以打开官方文档看一下:http://codex.wordpress.org/Function_Reference/comment_form
2.要使用在自定义回调函数中的上述代码中的变量,必须首先将这些变量设置在回调函数中:
$commenter = wp_get_current_commenter();
$req = get_option( 'require_name_email' );
$aria_req = ( $req ? " aria-required='true'" : '' );
否则wordpress会报错!
文章来源于互联网


暂无评论内容